First of all, I think many of you are aware that we have one room dedicated as our 'dojo' for budo, tai-chi, and general art projects.
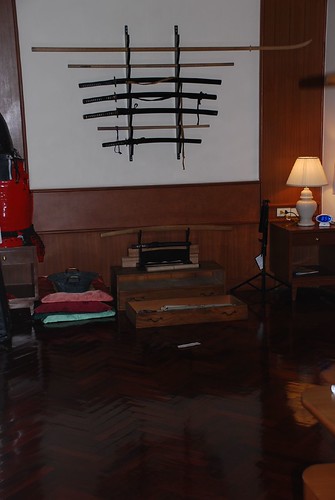
Unfortunately it has been a little small for some practice, which I tend to take outdoors, including battodo. Besides needing space, however, battodo requires one more thing: cutting. While the focus should never be on cutting for cutting's sake, regular cutting practice is an essential part of the curriculum. But where to find material? Contrary to my initial thoughts, there aren't that many tatami in Bangkok. Nor do there appear to be many tatami repair shops. I could, perhaps, pay $120/tatami mat, but that's a little steep. Finally, I got a chance to head out to the local market.
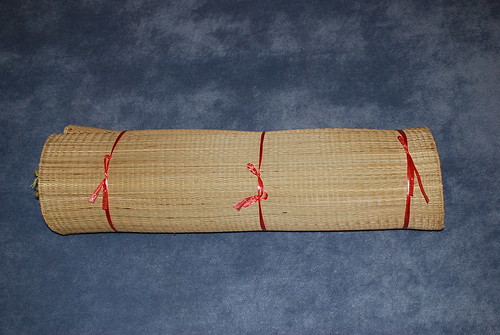
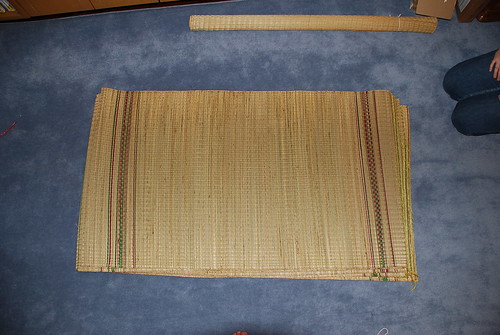
This is what we found: 10 mats at about 120 Baht each--a little under $4/mat. Not too bad, but I suspect the overall cost will be more than using tatami omote. For one thing, these are more like beach mats, though thicker, but I still suspect it will take more than one to give a good target.
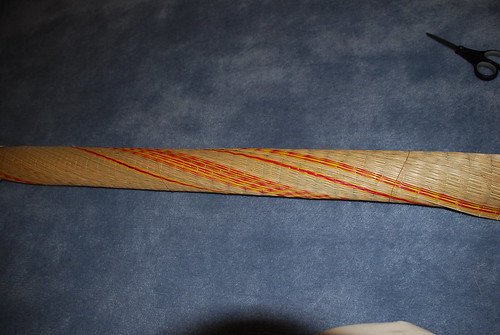
I also picked up one wide one.
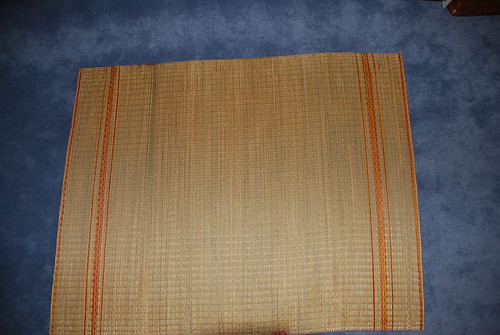
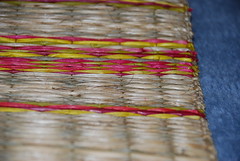
It was made of the same material, including the colored weave. This is a problem in some mats, as the cheaper mats use a pretty hard plastic, but these mats appeared to just use colored straw.
Unfortunately, I had misgivings once I saw that it was about as wide as the others were long! And it really twisted, even when rolled as tightly as possible.
The shorter ones were more numerous. So I figured I would roll up a couple as doubles, a triple, and three singles. That way I could get a good feel for the mats. Unfortunately, they had the same problems. Though thicker than a typical 'beach mat', they have a loose weave and uneven fibres that makes it difficult to roll. I tried several different techniques, with little success. Hopefully the water they soak up will fill them out some and perhaps make them a little more substantial. I'm already missing my tatami omote.
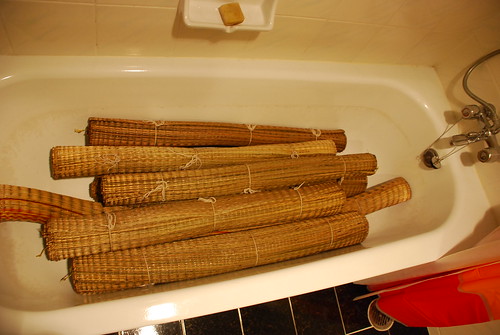
I'd been saving rubber bands from the street vendors, but apparently our maid figured they were garbage, because I couldn't find any. Instead, I went with butcher's twine, which shouldn't significantly affect the cuts. Quite enthusiastic about the tests, I started them soaking as soon as possible.
It was about this time I realized I was in a dilemma. What was I going to cut them on? I could already see the potential problems of using a table corner, as most of the tables were under the roof on the lower level, meaning not enough room for a good swing.
I decided the best thing would be to go to the local version of Home Depot and see what I could find.

Turns out, HomePro is not really a Home Depot. No lumber at all. So much for a good 4x4 stand. But I did recall that in Japan they had used some kind of pipe. Hmmm... maybe if I grabbed some PVC pipe bits I could build what I needed, but how?

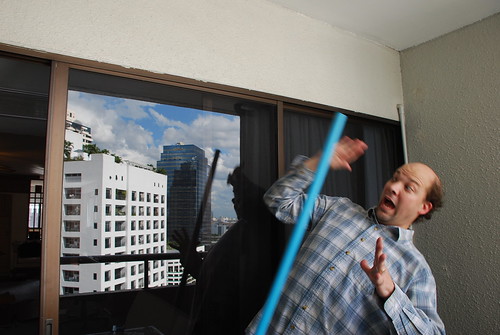
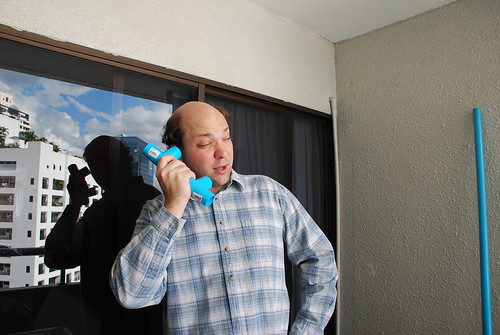
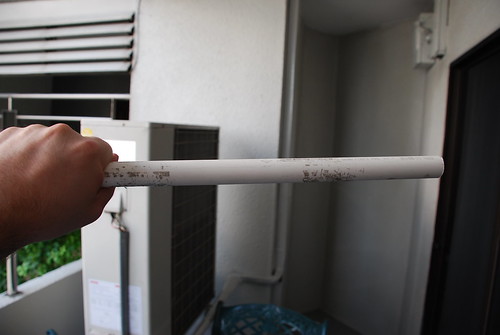
This pole might work. I just stand it up like this... might have to cut it down a bit later. But just stand it up. Carefully... then let go...
Okay, so we're going to need something to keep the pole from falling over. Let's see what we have here.
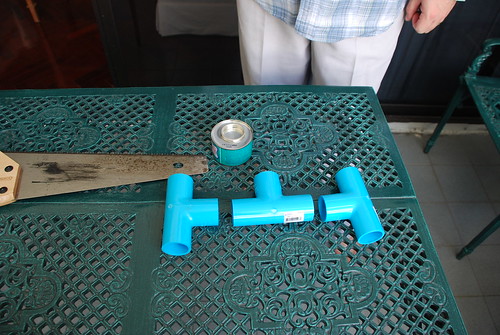
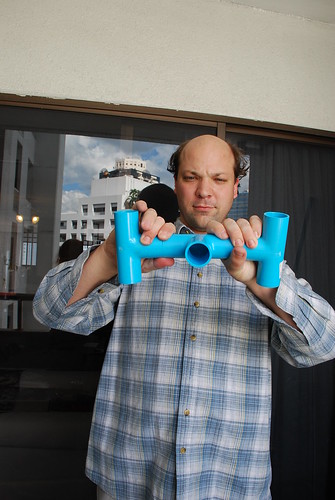
Several different T-joints, huh? Maybe I could throw something together.
Yes, I think I could do something with these. I just need to figure out what. These definitely have potential.
Not quite what I had in mind.
You're getting closer.
That's what I'm talking about!
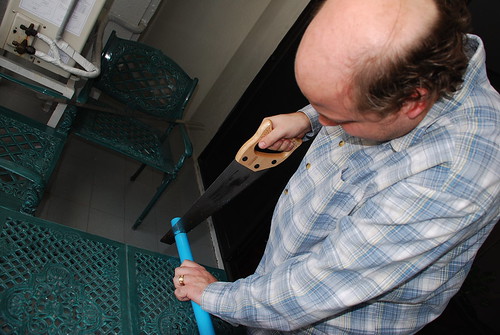
First, saw off a few pieces of the pipe to connect them. Not too big, just enough to help hold them together.
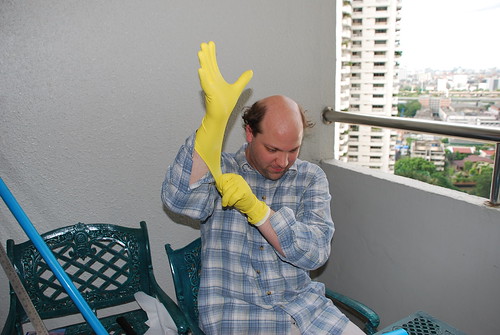
Time to get dirty! I can't really read the warning labels on this glue, as it is all in Thai, so I figure I'll take some precautions.
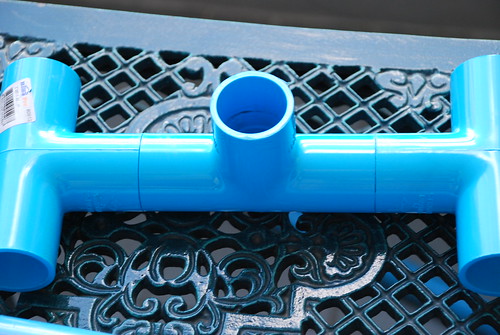
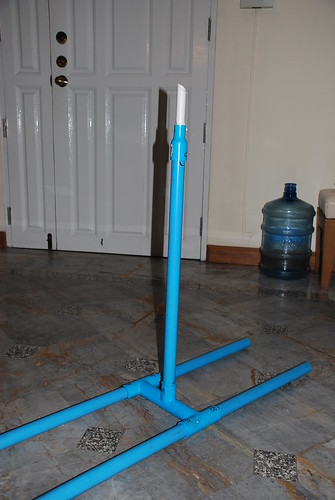
Here's the finished base. By my calculations, I should be able to put four poles as 'legs' and one central pole as the stand. BTW, if you are wondering about why everything is blue? Because it was thicker and heavier than the white PVC pipe. I figured that a certain amount of mass would be helpful.
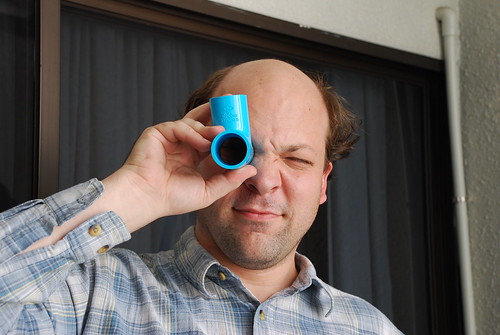
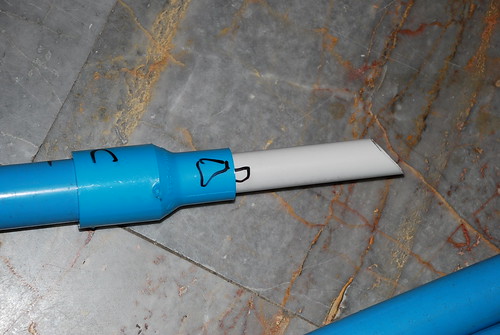
But what about the peg? I didn't find any dowels at HomePro, but we did have a thin piece of pipe lying around.
A little bit of sawing to add a good angle, as well as a 1" to 1/2" pipe connector and voila!
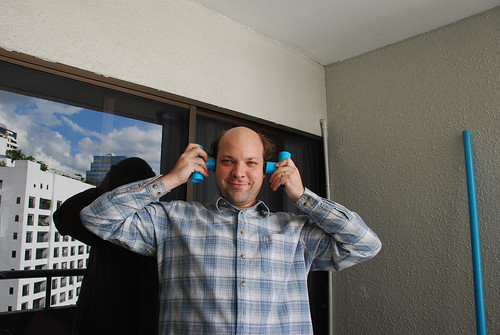
The great part is that, except for the base, everything can come apart. That means if I want an iai stand, all I need to do is replace the long, central pole with a shorter pole. Of course, blue isn't my favorite color, but what the heck.
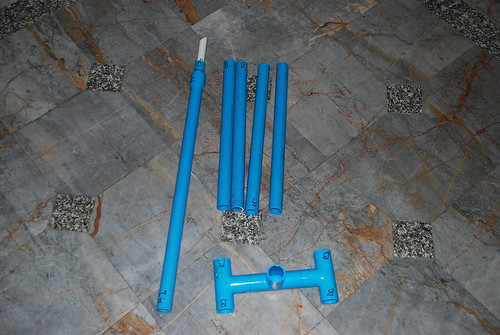
Here are all the pieces laid out, ready to be assembled.
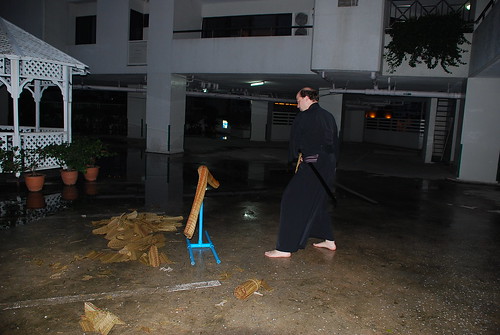
Put it all together and see what you get! It is a little taller than I'm used to, but the mats are also a bit shorter. Besides, it feels nice to not have to reach down to cut. Still, I'll eventually want to get precise dimensions to make a stand at the exact height that the Kakuseikai uses so that I can practice with what I'll be using in Japan.
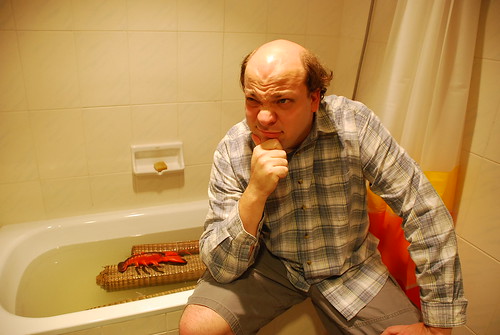
Claude would like to take this opportunity to remind all the would-be sammyrai out there that nobody should attempt to cut without appropriate training and safety precautions. Do not try this at home!
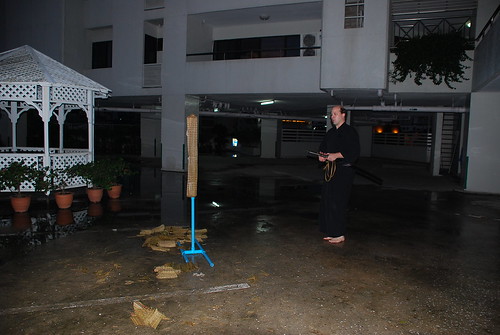
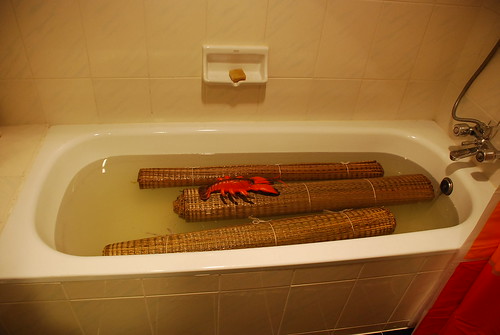
Mats soaked, and with the rain stopped, it was time to go downstairs to try the stand. Spiking the mats was a bit difficult, but not because of the stand. The mats were just too floppy. Once on the peg, they generally stayed put.
Cutting the short mats was definitely easier than tatami omote. At least two mats were required to give the same feeling as one piece of goza or omote. Also, even though they were 'new', these mats came pre-dirtied. I tried to wash them off as well soak them, but it still felt as though there might be some grime in the weave. Furthermore, I think there is some plastic being using ind the overall structure. Still, the cuts seemed good. I may just want to forego using a Nihonto on these mats any time soon.
Oh, and as I rather thought, the tall mat really didn't work too well. Too soft, and not enough mass to really support itself. It wouldn't go on the peg until it was cut down to size.
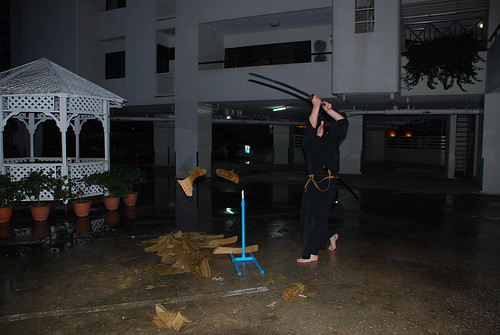
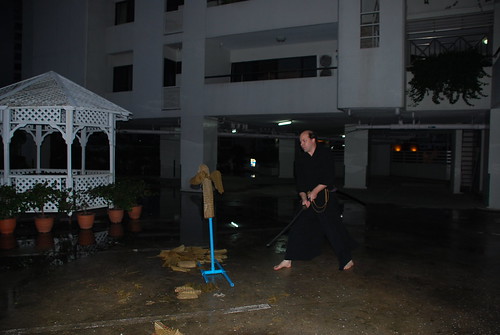
After that it cut more easily than certain commercial wara I've tried. Even bad cuts went through effortlessly, while the shorter double did a fairly decent job of showing me where my angle was off on my blade, and wouldn't let me get away with a truly awful cut.
In the end, it looks like I've found something to cut, even if it isn't the best. Hopefully I'll be able to keep in practice for Japan. Still need to find other people to practice with, of course.
Hope this has been enjoyable. Next time I'll try to tell you about the Taj Mahal. See: